

This how-to describes process of getting files from your local PC to service.unece.org using Repositories and Pipelines. Should be reffered to typically when a new version of UN/EDIFACT, UN/LOCODE or other deliverable hosted on service.unece.org is produced and needs to be published.
Terms
- Local Repository - Folders and files on your Local PC
- Remote Repository - Folders and files on remote Server, these files are used by Pipeline
- Clone - Process of initial copying files from the Remote Repository to the Local Repository
- Commit - Finalazing a change in files, should contain comment message, describing reason for and nature of the change
- Push - Process of moving changes from Local Repository to Remote Repository, One Push can contain multiple commits
- Pipeline - Automated process for moving files between environments (typicaly Remote Repository → Stage → Production)
- Stage - Staging / Testing / Quality Assurance (QA) environemnt, serves for final validation of our files before moving them into Production environement (service-qa.unece.org)
- Production - Production environment, final destination of our files (service.unece.org)
(Terms not covered: Pull (to be added), Pull-request, Branch, Merge, other Git's features)
Diagram
Simplified diagram of the whole process:

Resources
Repository Web interface
- UNECE Bitbucket - https://bitbucket.unece.org
- Trade Repositories - https://bitbucket.unece.org/projects/TRADE
- UN/CEFACT (BRS, CCL, Codelists, Recommendations, RSM, XML Schemas, etc. ) - https://bitbucket.unece.org/projects/TRADE/repos/uncefactservice/browse
- UN/LOCODE - https://bitbucket.unece.org/projects/TRADE/repos/locodeservice/browse
- UNTDID (UN/EDIFACT) - https://bitbucket.unece.org/projects/TRADE/repos/untdidservice/browse
Repository GUI
- Sourcetree - https://www.sourcetreeapp.com/ or local SourceTreeSetup-2.6.9.exe
- Prerequisit to install Sourcetree is MS .NET Framework 7.4.1
- Web Installer - https://www.microsoft.com/en-us/download/details.aspx?id=56115 or local NDP471-KB4033344-Web.exe
- Offline Installer - https://www.microsoft.com/en-us/download/details.aspx?id=56116
Pipeline Web interface
- UNECE Bamboo - https://bamboo.unece.org
- Trade Pipelines - https://bamboo.unece.org/browse/TRADE
- UN/CEFACT Pipeline - https://bamboo.unece.org/browse/TRADE-SU2
- UN/LOCODE Pipeline - https://bamboo.unece.org/browse/TRADE-SL
- UNTDID (UN/EDIFACT) Pipeline - https://bamboo.unece.org/browse/TRADE-SU
Working with Git
Official Sourcetree documentation
- Install Sourcetree https://confluence.atlassian.com/get-started-with-sourcetree/install-sourcetree-847359094.html
- Connect your Bitbucket or Github account https://confluence.atlassian.com/get-started-with-sourcetree/connect-your-bitbucket-or-github-account-847359096.html
- Clone a remote repository https://confluence.atlassian.com/get-started-with-sourcetree/clone-a-remote-repository-847359098.html
- Commit and push a change (Git) https://confluence.atlassian.com/get-started-with-sourcetree/commit-and-push-a-change-git-847359114.html
- Pull changes from a remote repository (Git) https://confluence.atlassian.com/get-started-with-sourcetree/pull-changes-from-a-remote-repository-git-847359111.html
Step-by-step guide
Installing and Configuring tools
Sourcetree Initial configuration
- Download and install Sourcetree, if needed install also MS .NET Framework 7.4.1, as this requires Administrator privilegies, ask ISU for assistance
- After Installation run Sourcetree application
As part of initial execution, configure Sourcetree - useraccount and tools
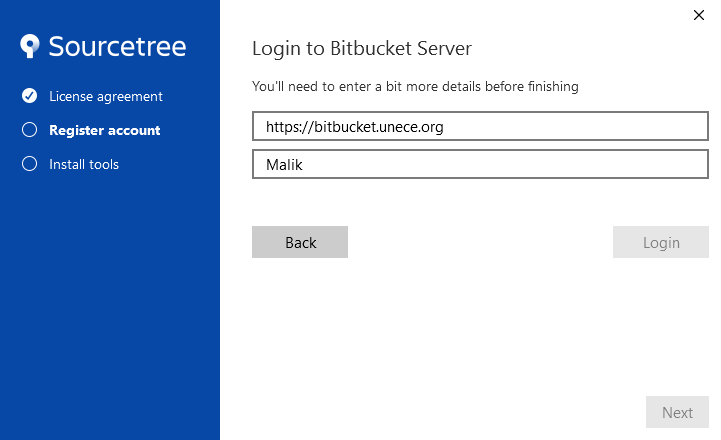
- Login to remote Repository
- Authenticate user (using Windows / Active Directory credentials)
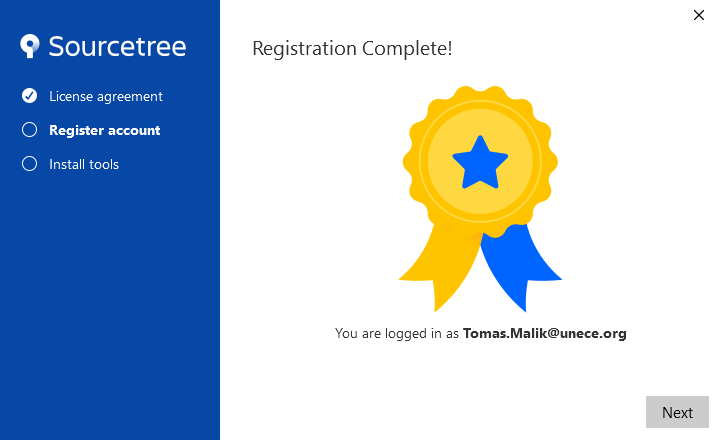
- If Credentials are correct, you should see confirmation
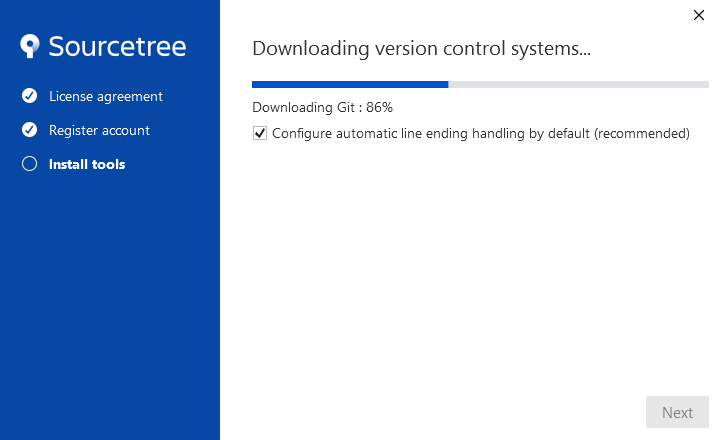
- Select modules for installation (we need only Git)
- Module installation - progress
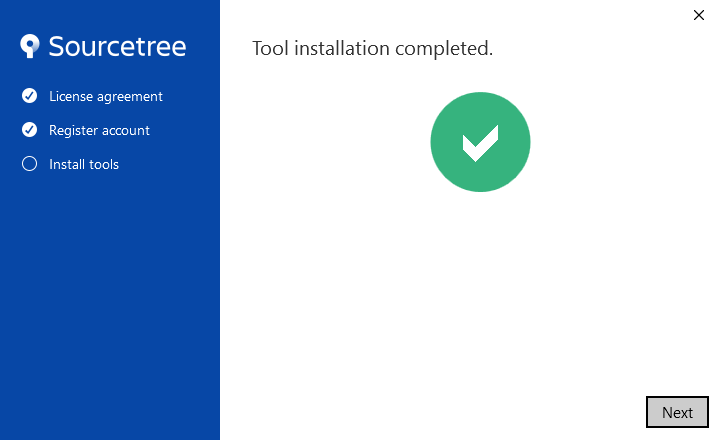
- Module installation - confirmation
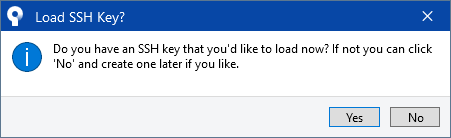
- SSH key configuration (can be skipped)
- Login to remote Repository


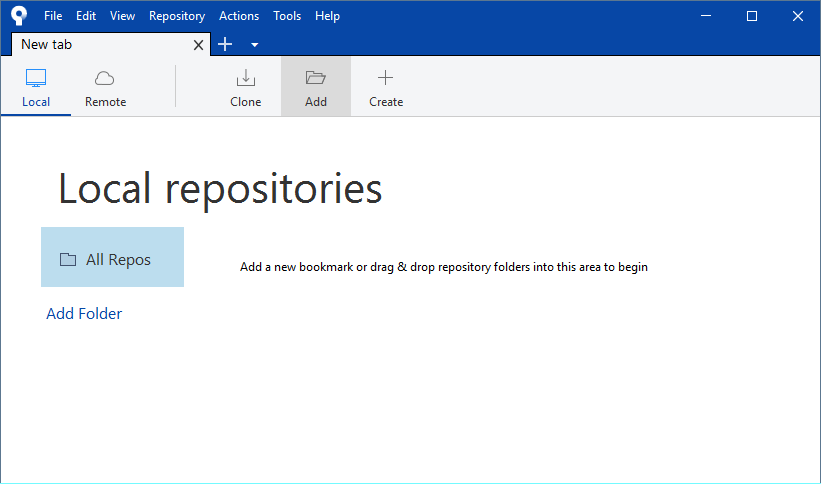
Cloning Repository
- After Initial setup we configure and clone repositories
- Add a new repository
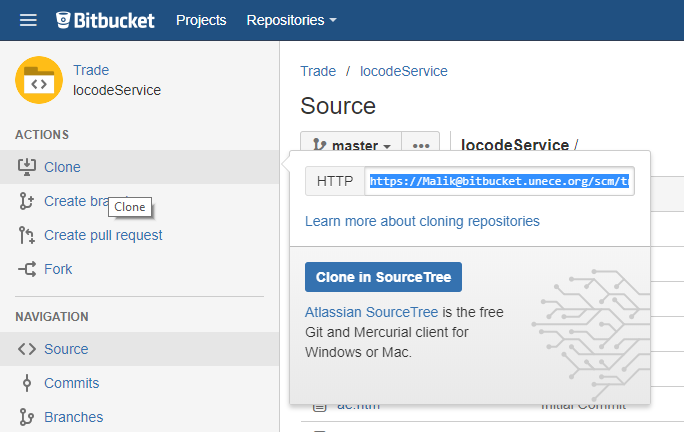
- On remote server, click "Clone in SourceTree" for easy configuration, or click on "Clone" and copy repository link (for Git repositories the link ends with .git)
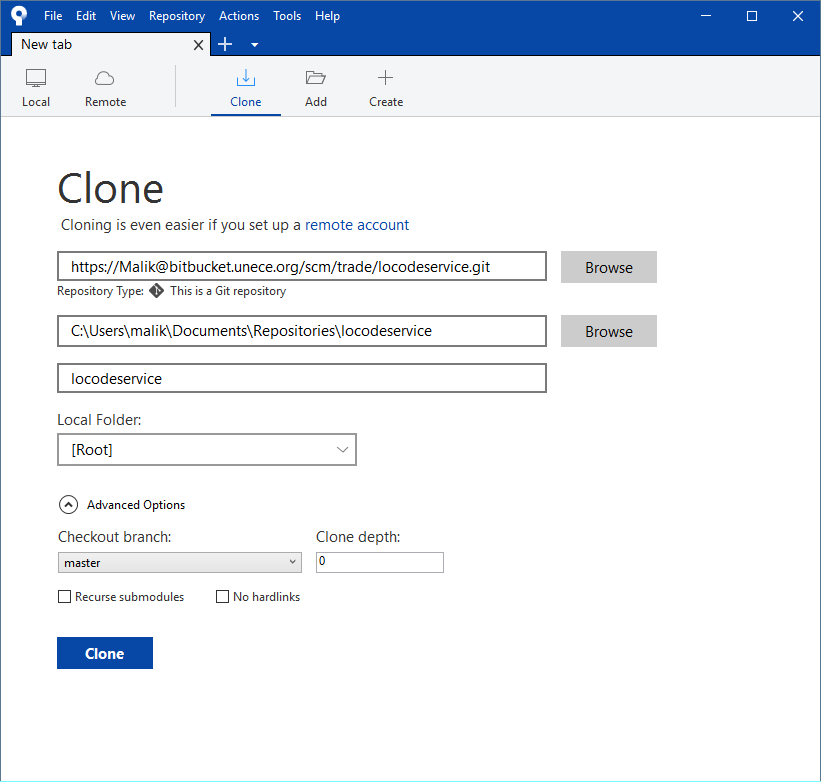
- Review Cloning configuration, select local folder where files shoud be stored
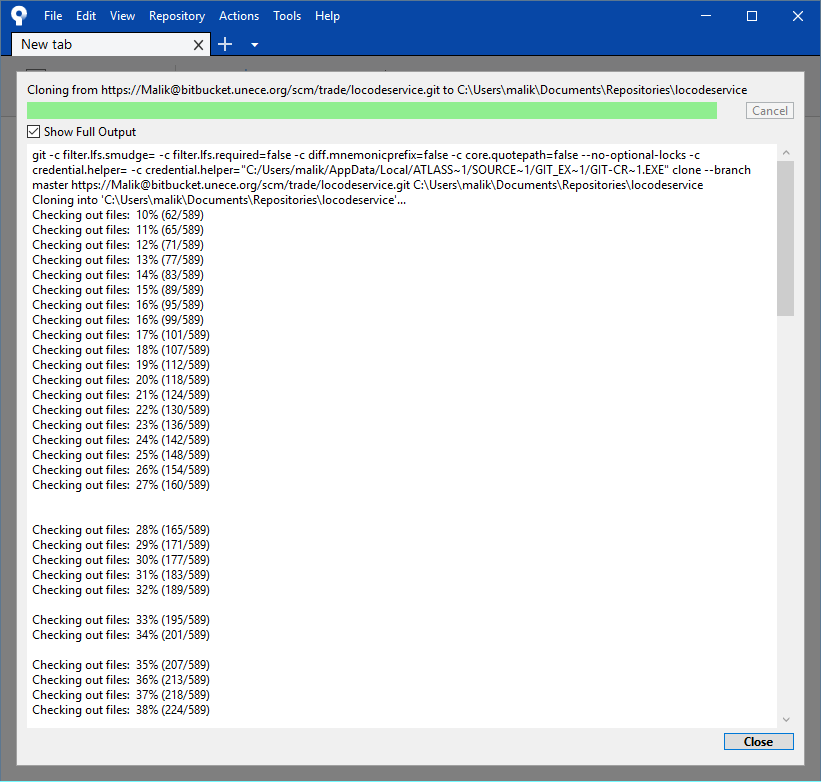
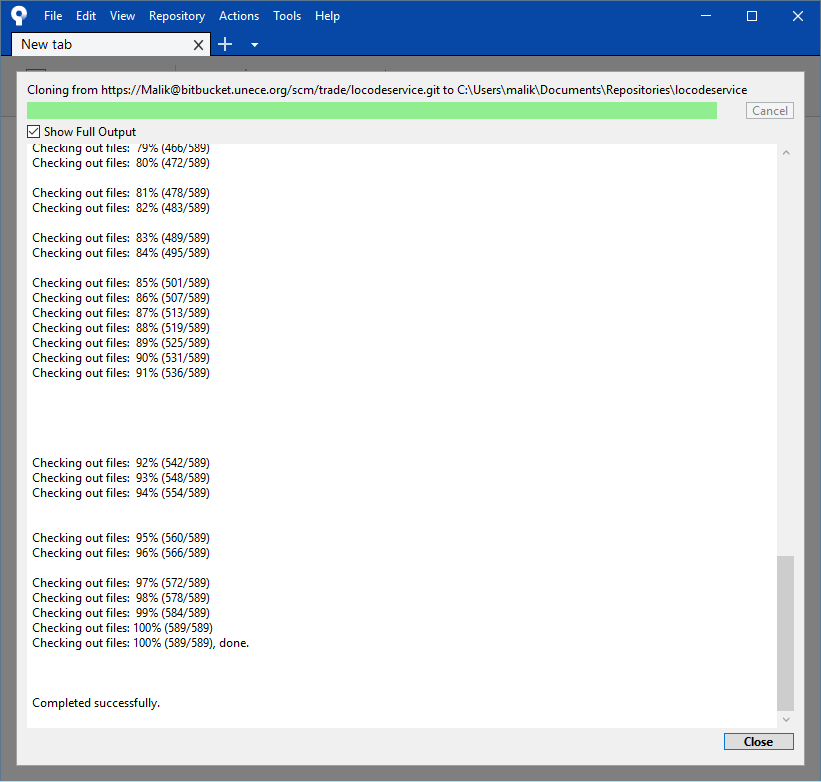
- Run Clone and wait for process to finish
- Add a new repository

Making a change in files
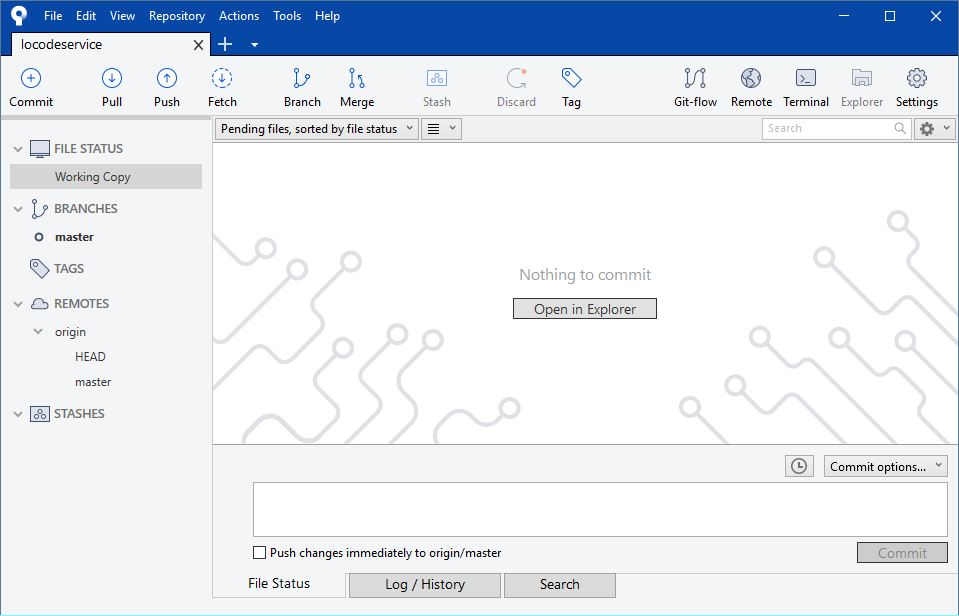
Local repo without a change, after Initial Cloning we have a files in Local Repo the same state as they appear on Remote Repo (local repo is in sync with the remote repo)
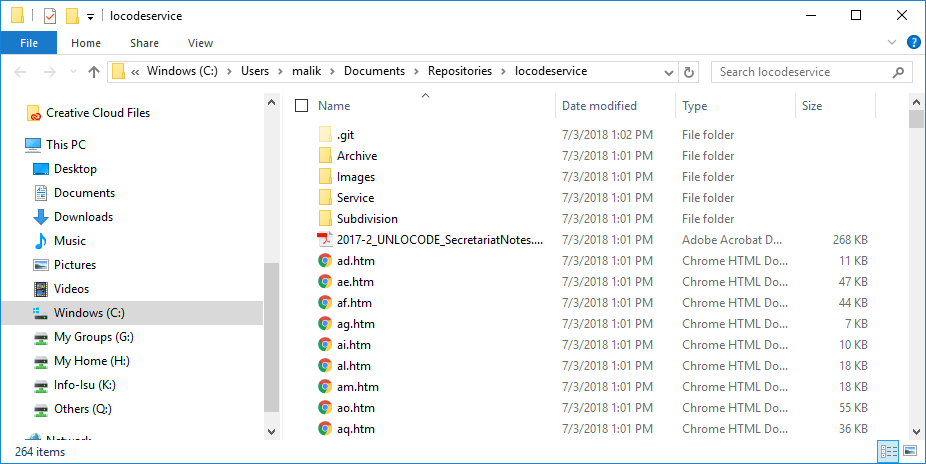
- Local Repository in windows explorer
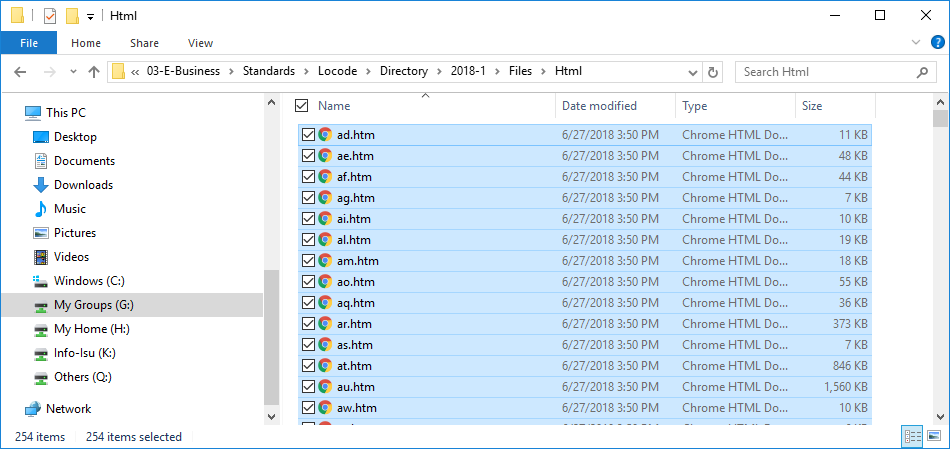
- New files (selected) to be transferred to local repo in windows explorer
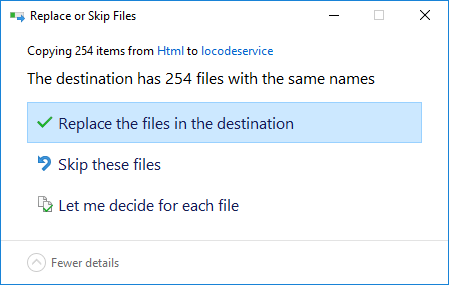
Transfer to local repo Overwrite prompt (if updating files to a new version)
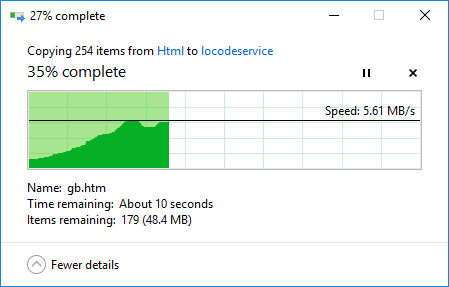
- Transfer to Local repo running
- We have a new files (we updated the current files) in our local repo (this is considedred as a change, another type of change is adding and removing files/folders)
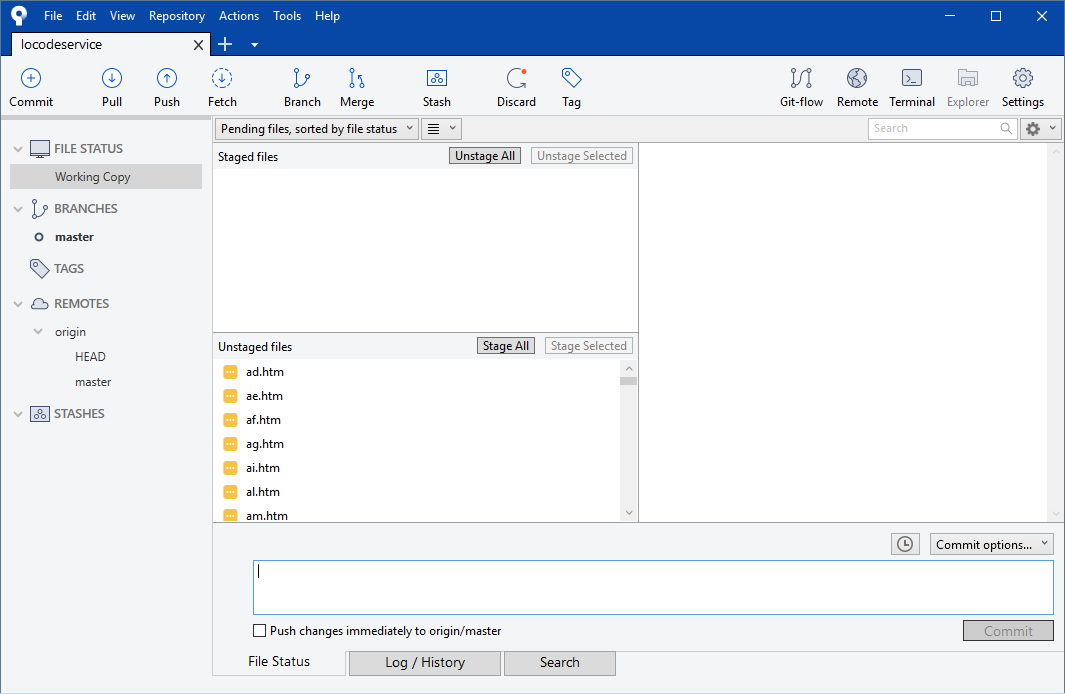
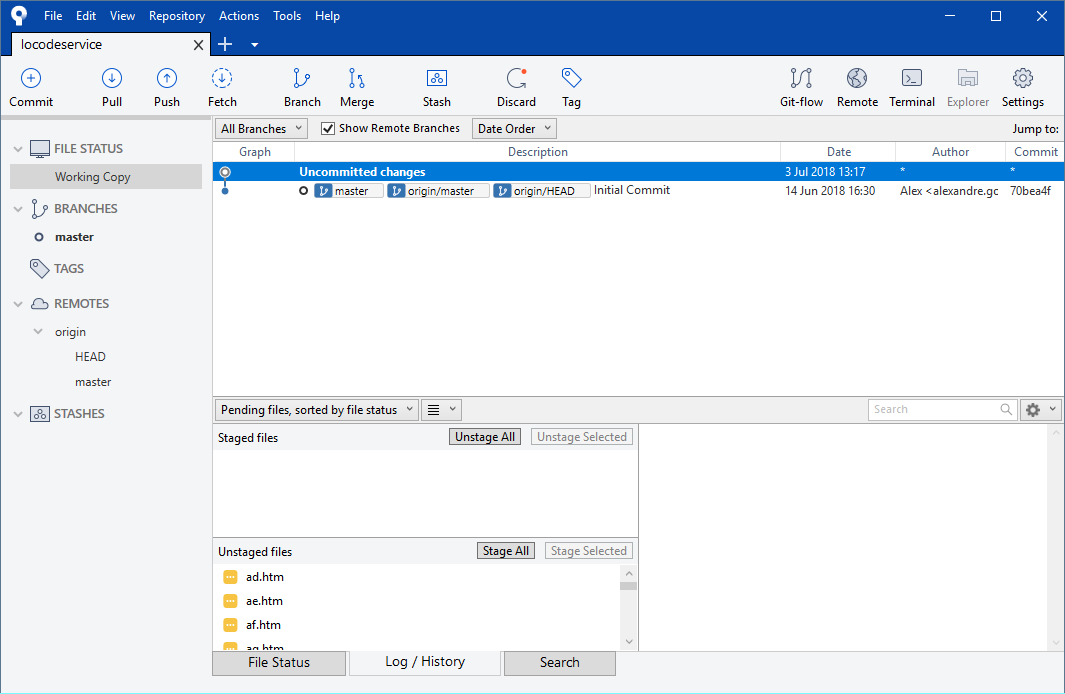
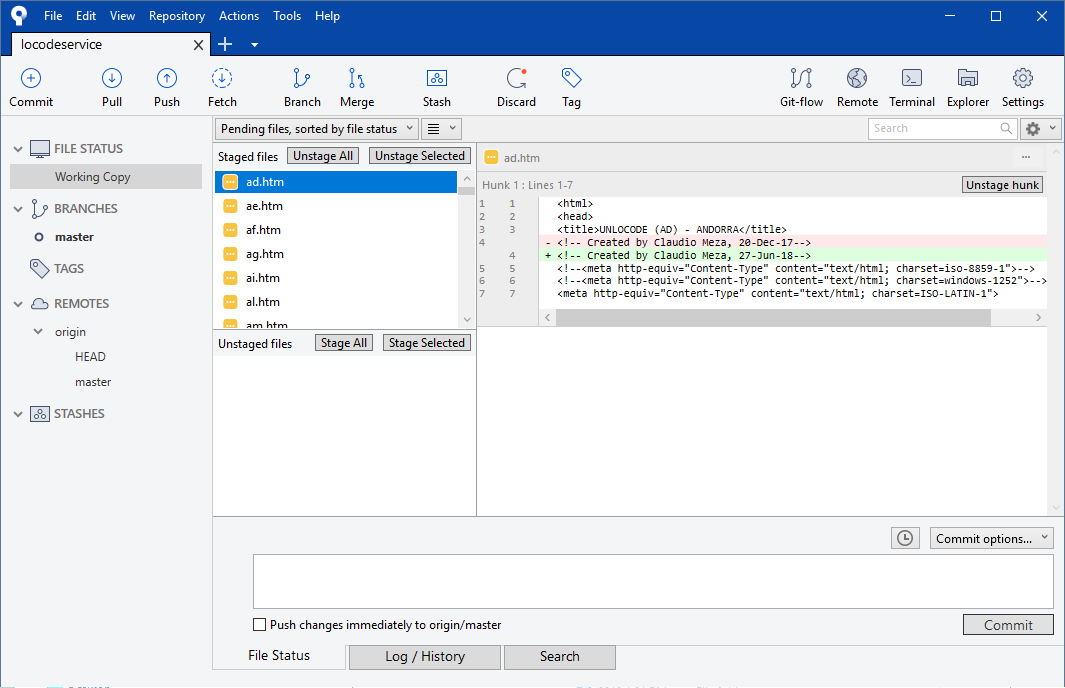
- New files in local repo - see file status and commit log
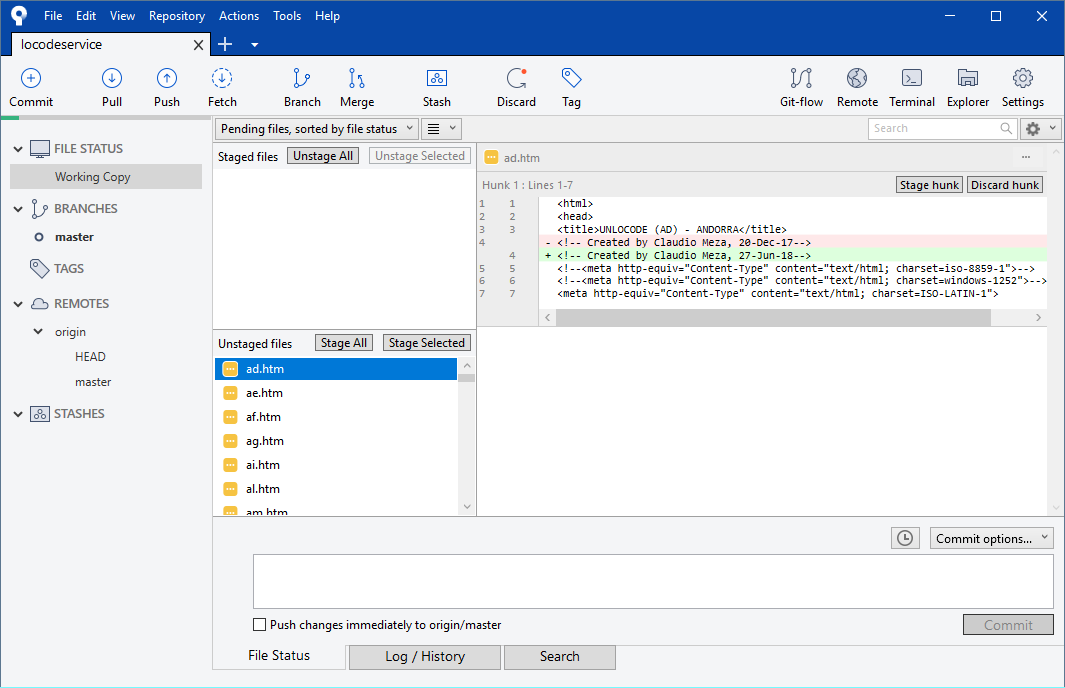
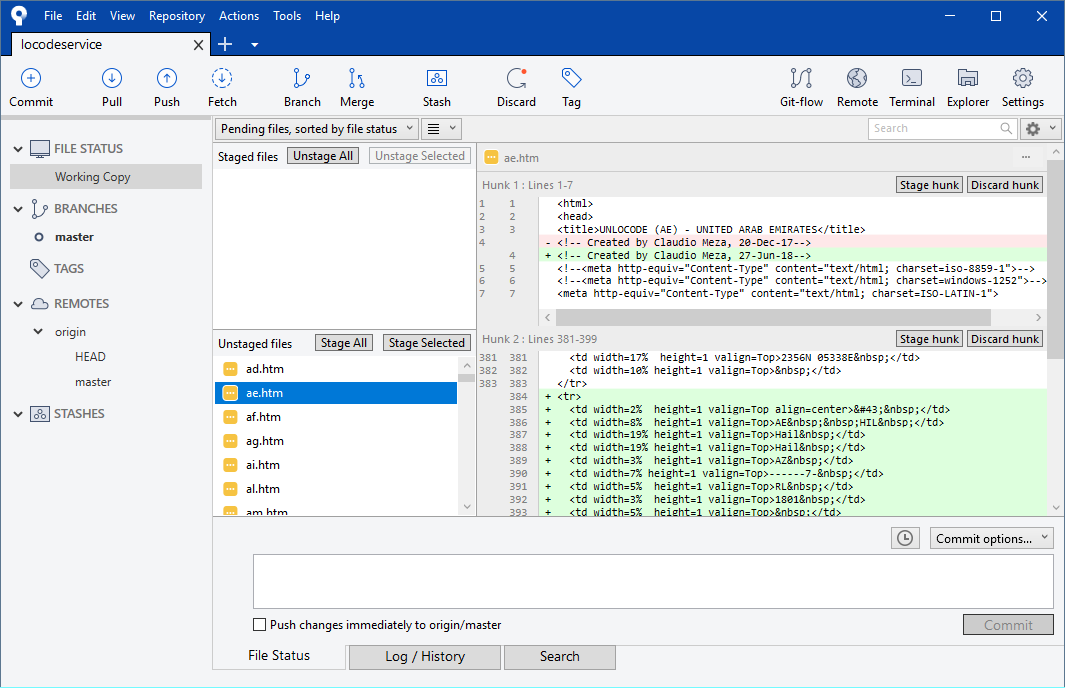
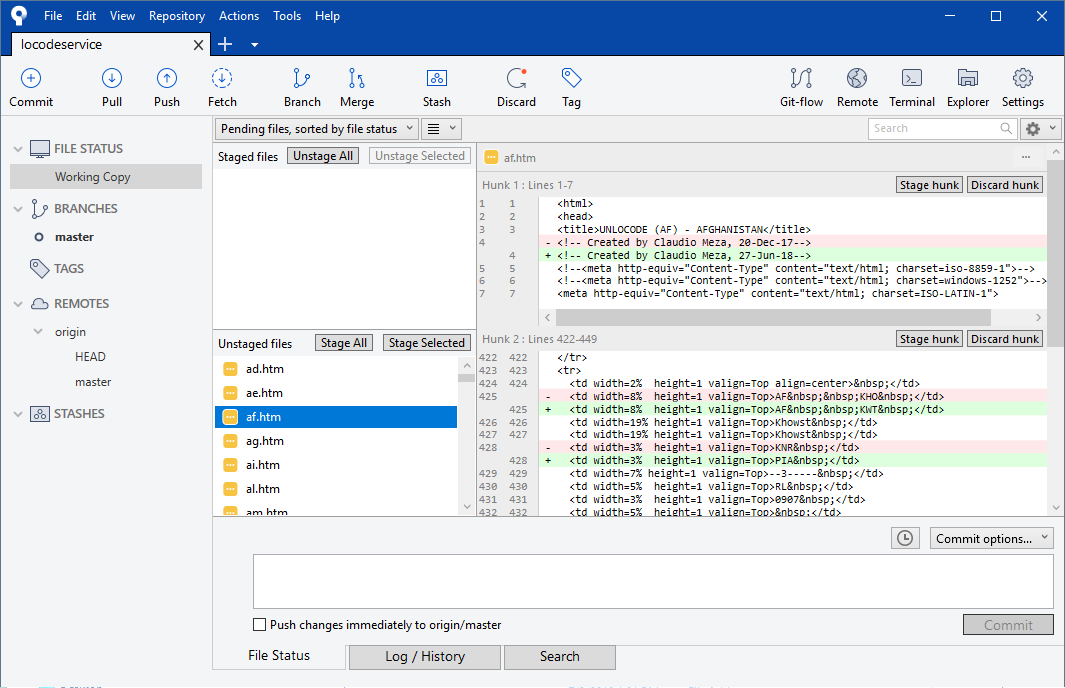
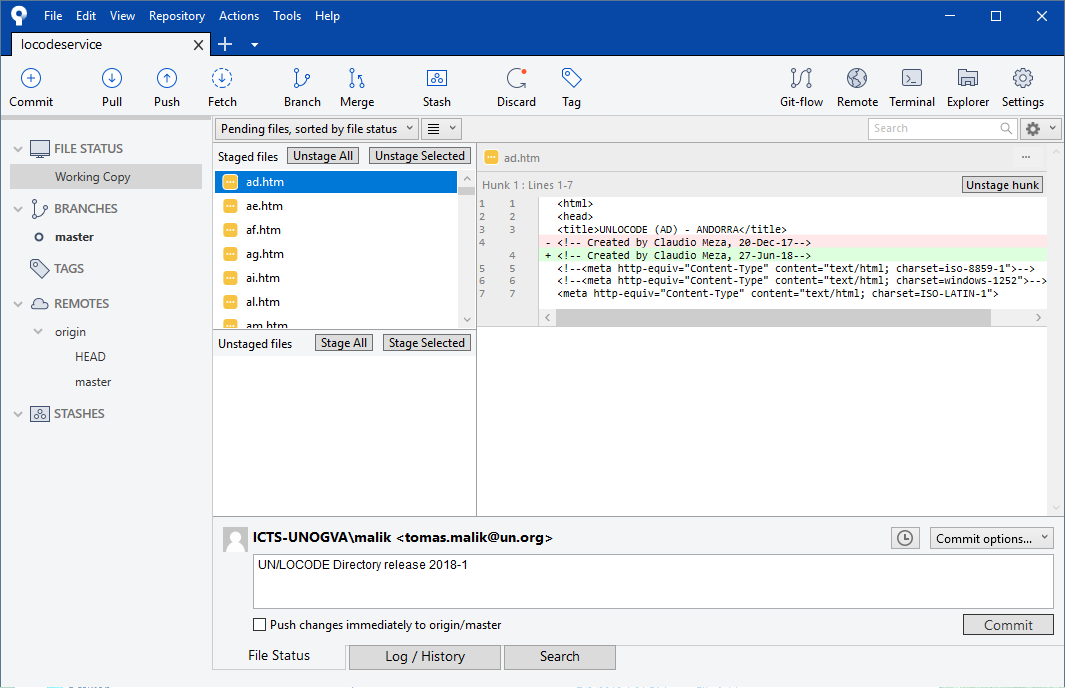
- Differences - after selecting the file we can see details of Changes
- Staging files - by selecting files clicking on "Stage Selected", selected files are staged and moved to Staged file window
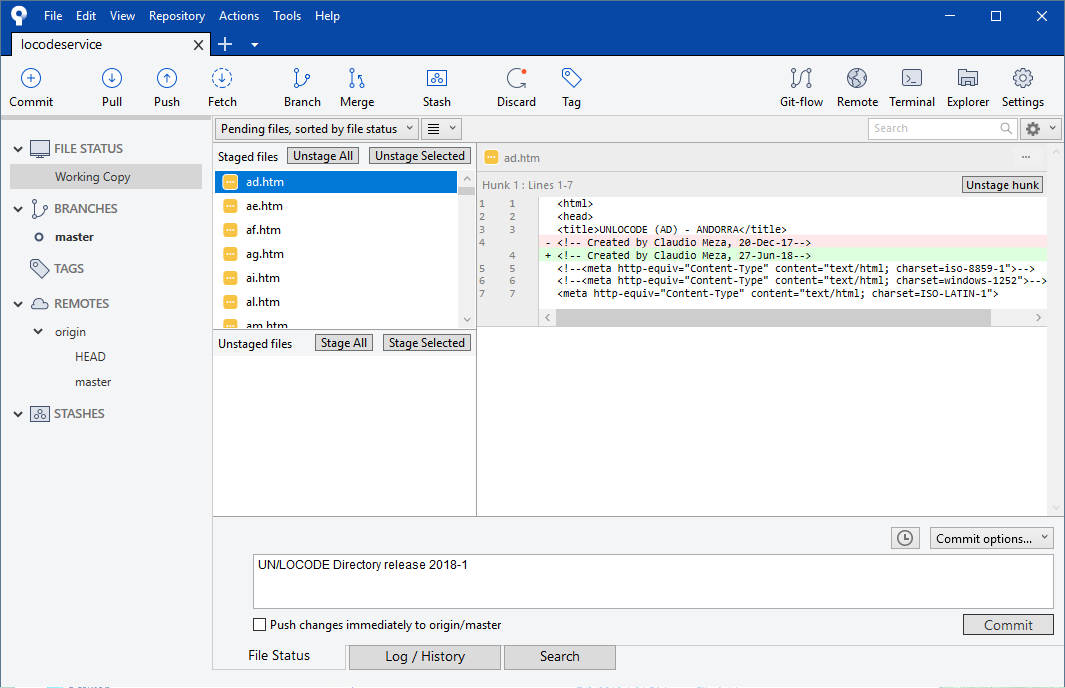
- Adding commit message - we add commit message explaining nature of the change
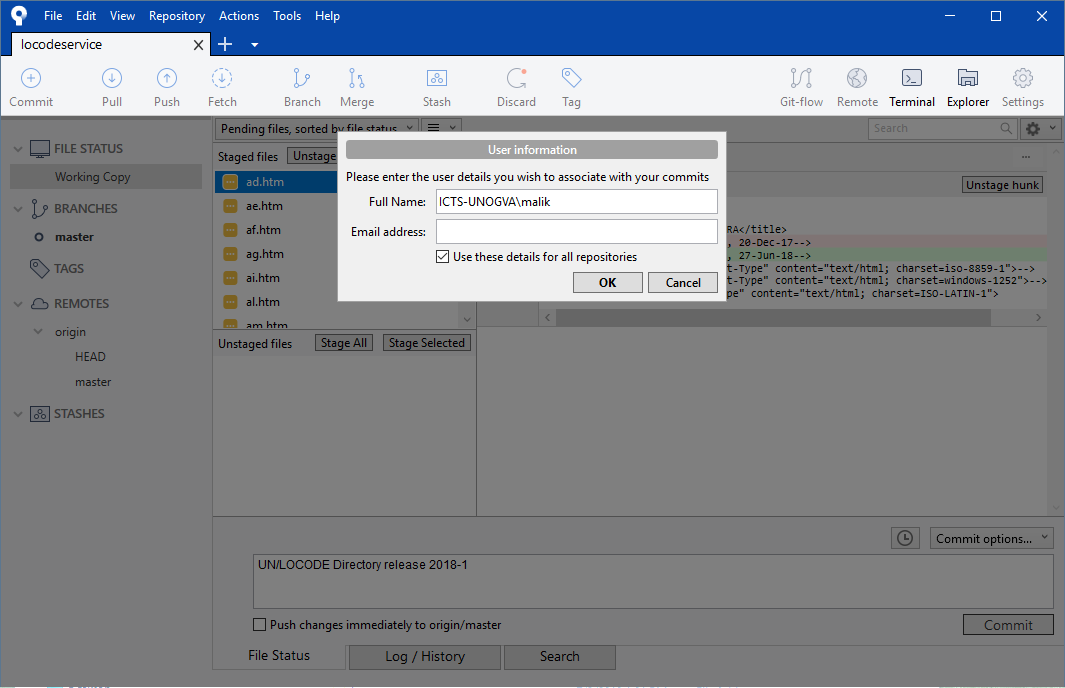
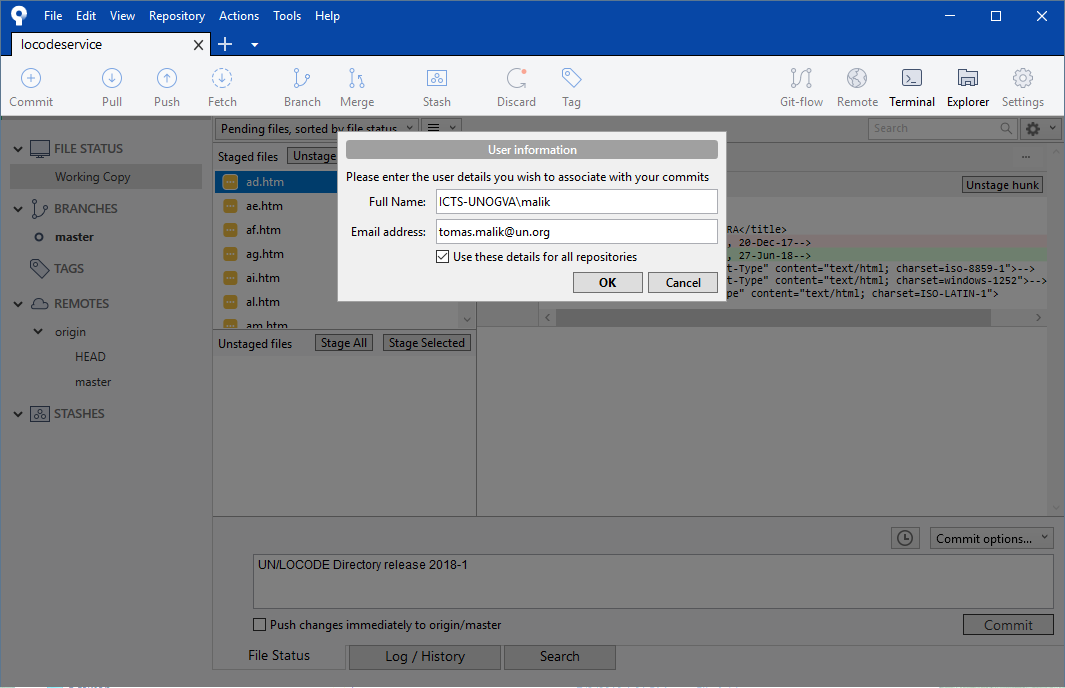
- User info for trhe first commit - we are asked to provide email (full name should be automatically populated)
- Commit is linked to user account and we can click on "Commit" button to execute a commit
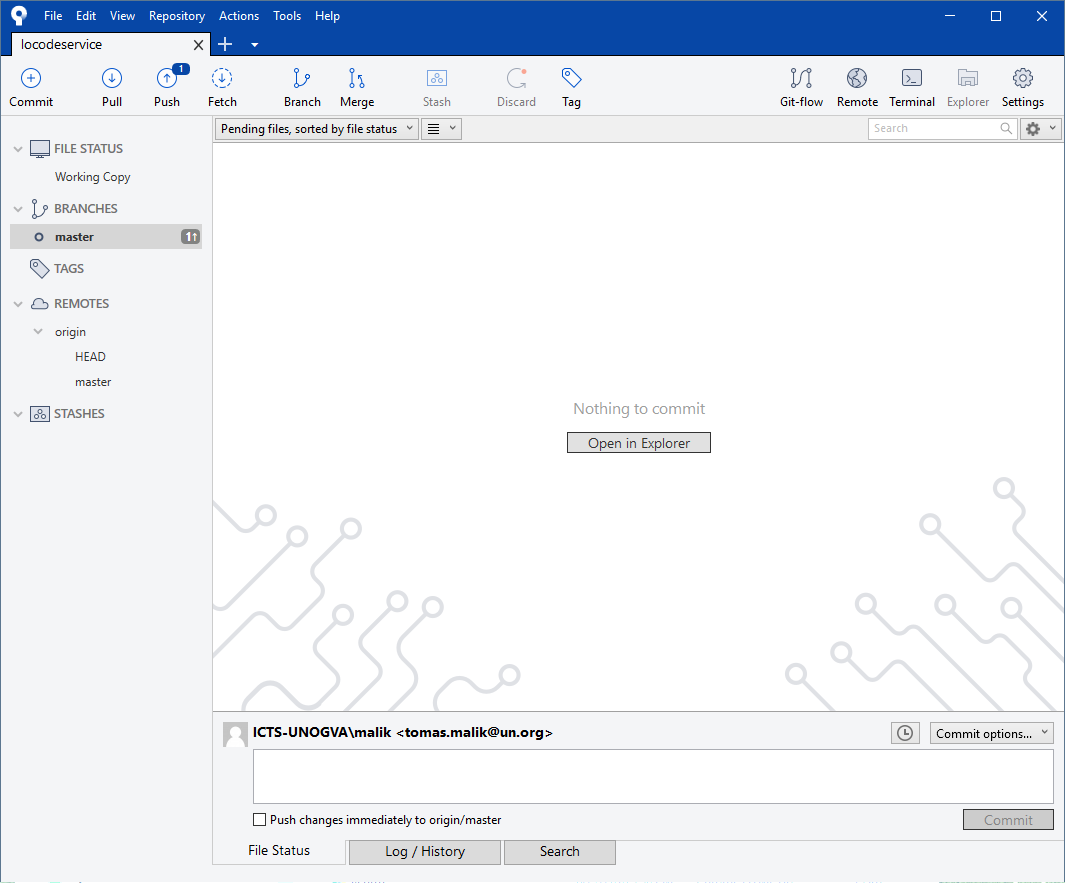
- After commit is executed, changes are prepared to be Pushed to remote repository, Push will became available
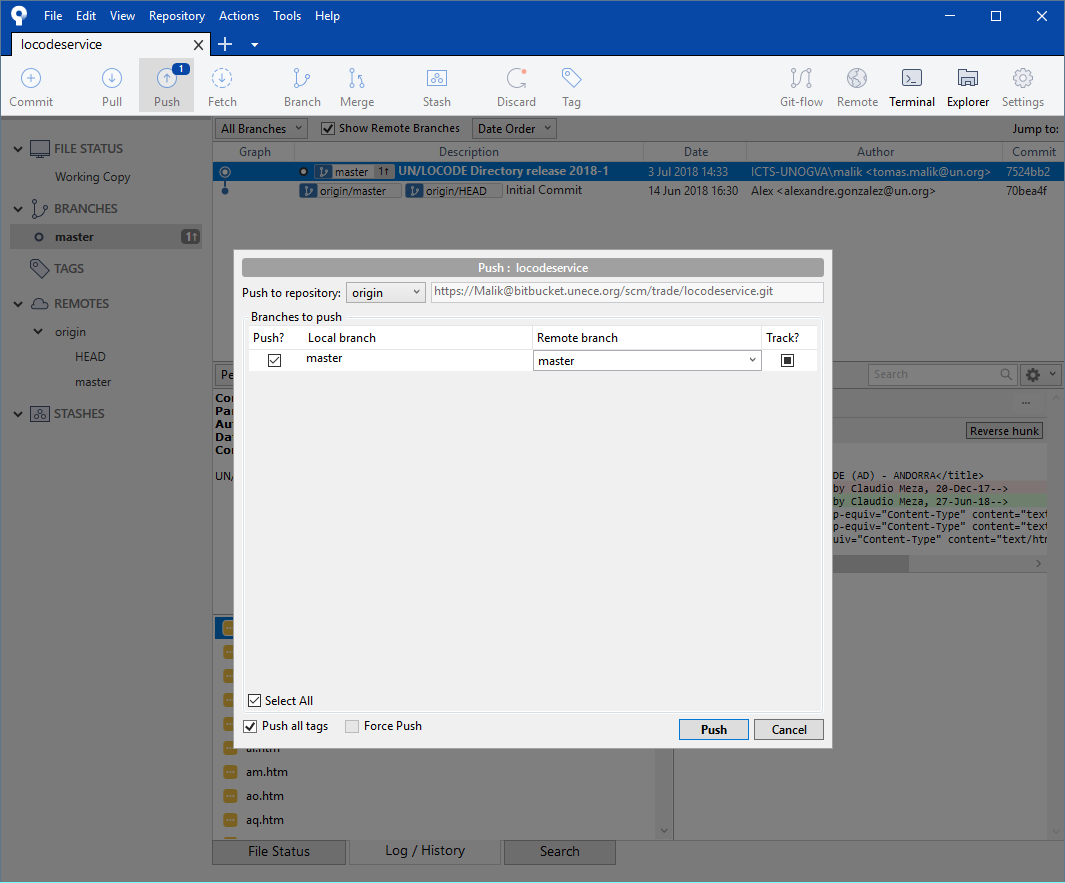
- Push - after clicking on "Push" button, we are asked to select branch, in this simple example we are staying in only one branch - master
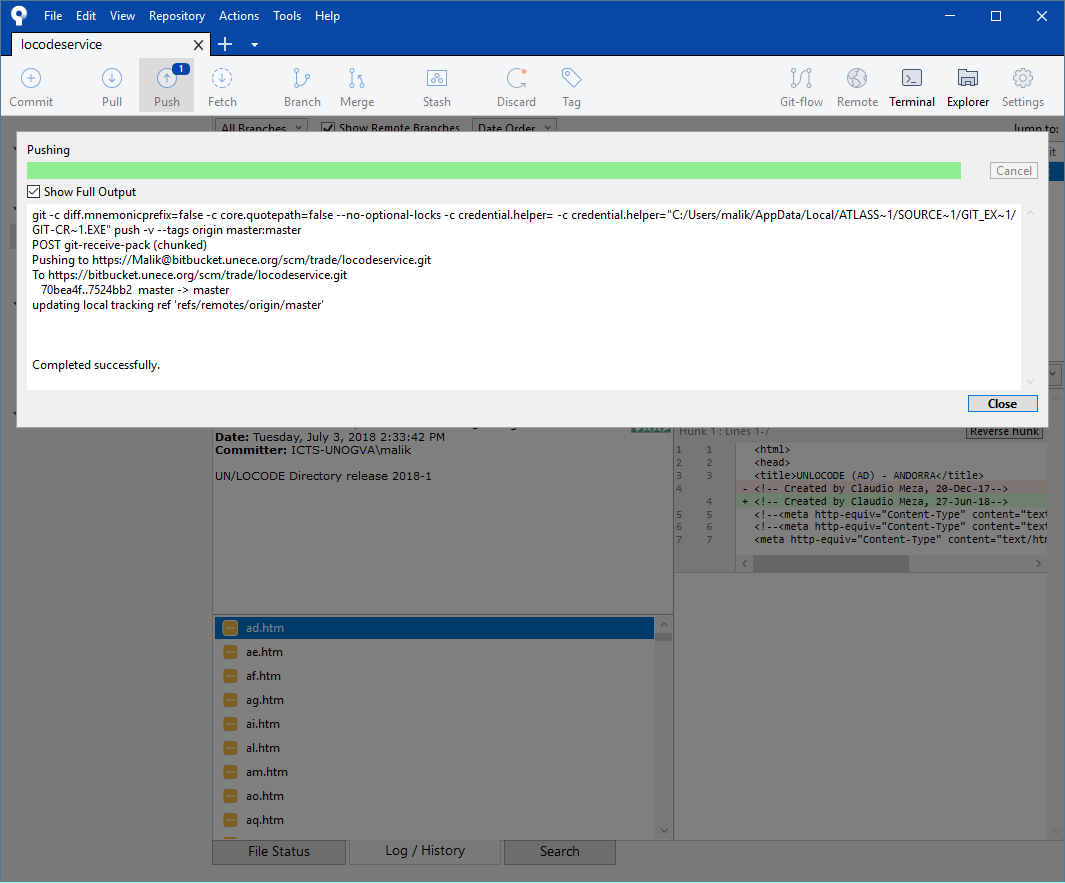
- Push running, after clicking on Push button from branch selection, Commits (containing changes) are pushed to Remote Repository
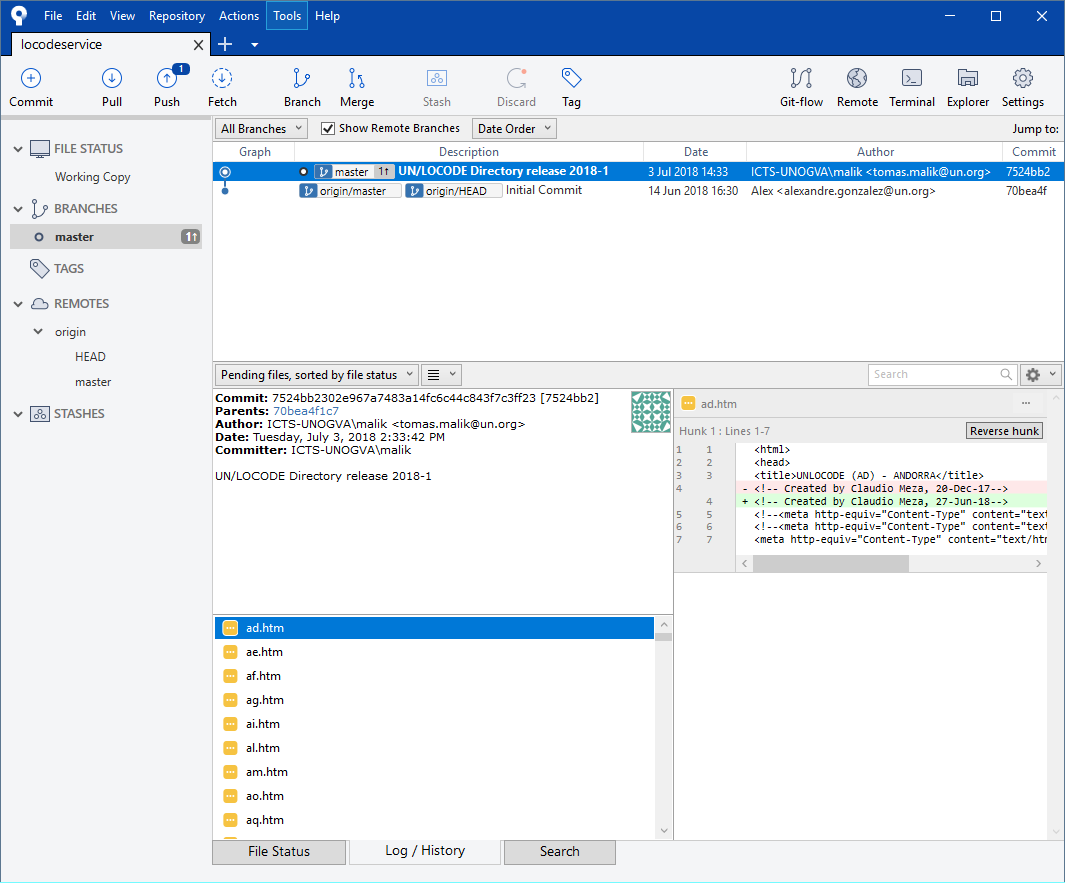
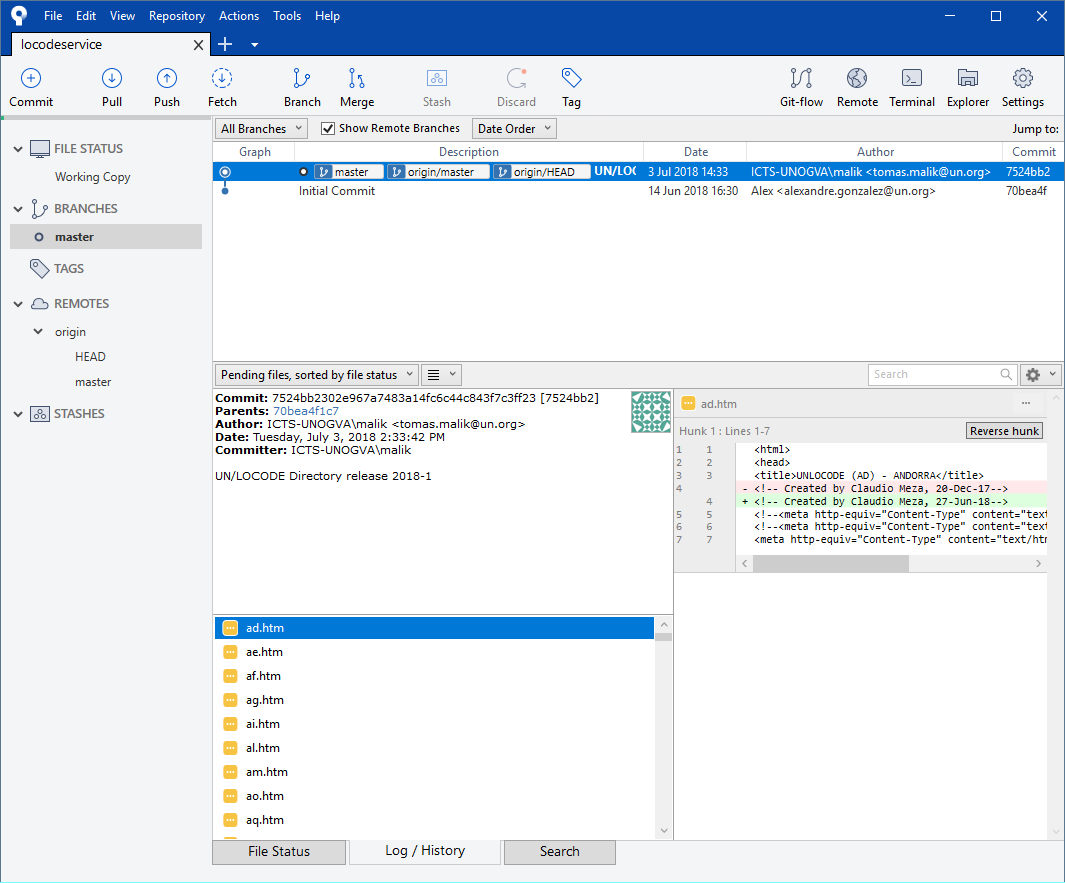
- Push completed, we can see our changes in Graph view on Log/History tab
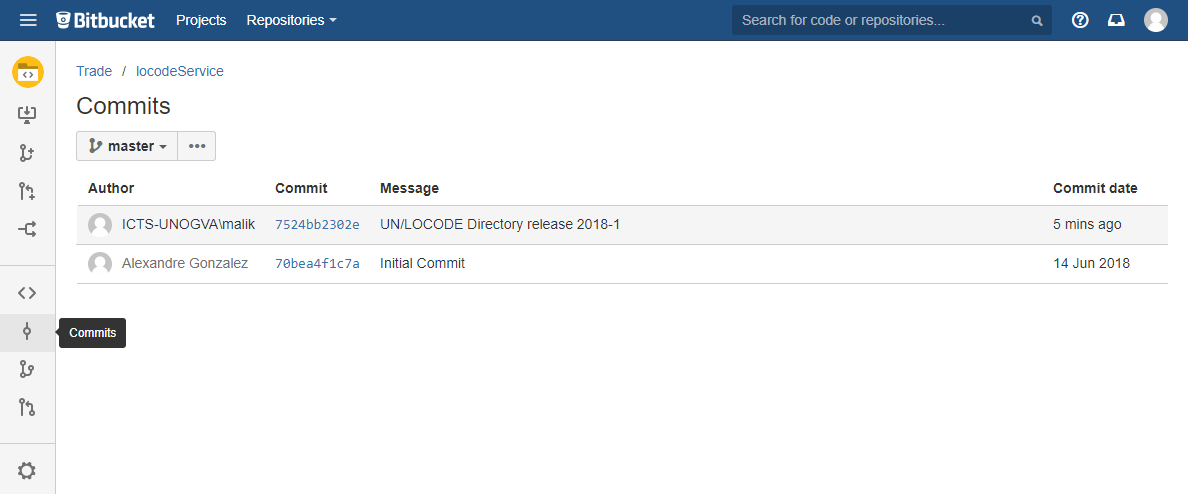
- Bitbucket - on Remote repo - Commits - we can also see our Commits
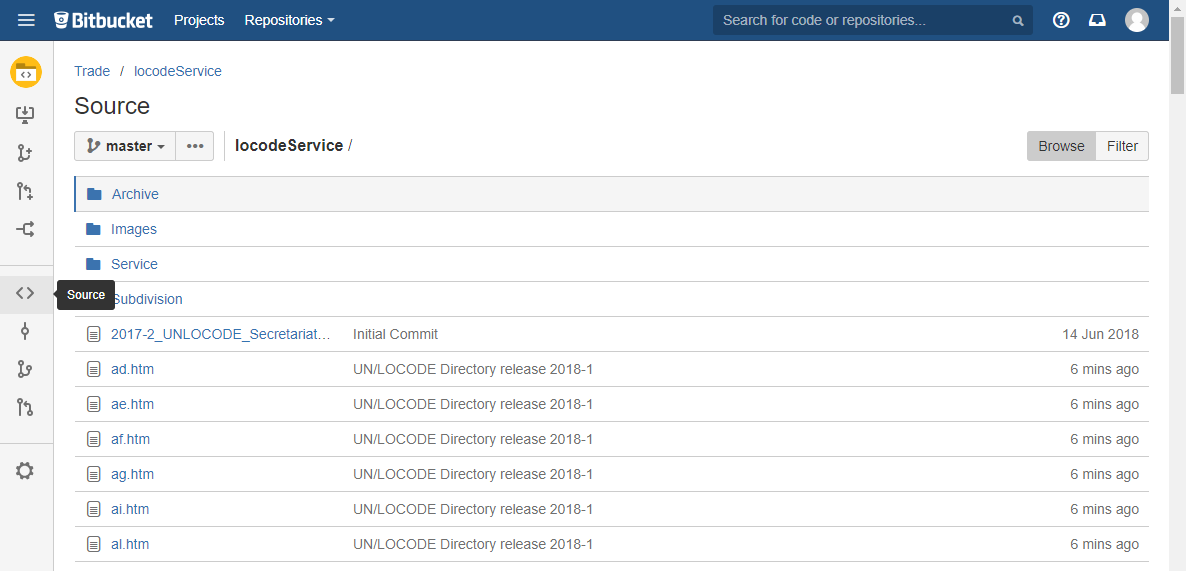
- Bitbucket - on Remote repo - Sources - we can also see each individual file together with commit message
- New files in local repo - see file status and commit log
Running Pipelines
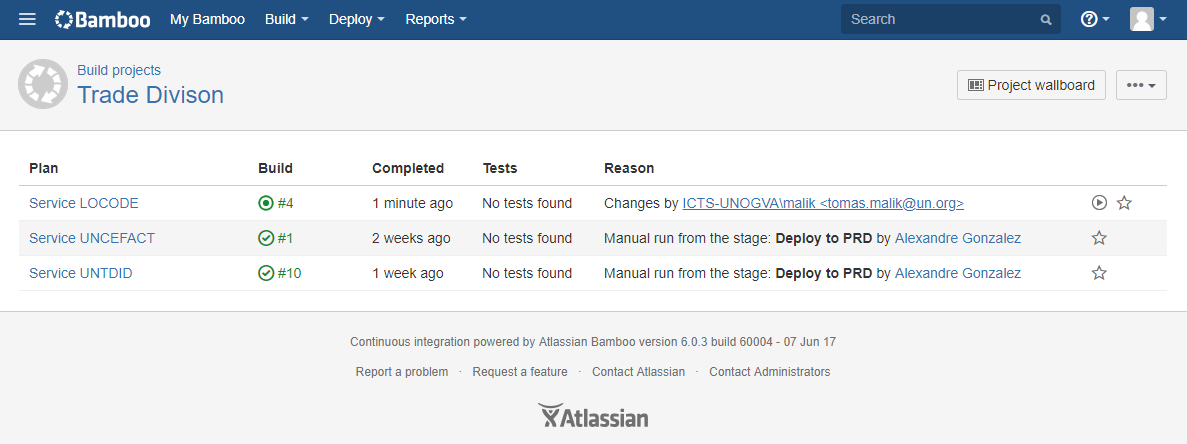
- Go to Trade Division pipelines - https://bamboo.unece.org/browse/TRADE
Select desired Pipeline (in our case, as we are deploying new LOCODE Directory version - Service LOCODE)
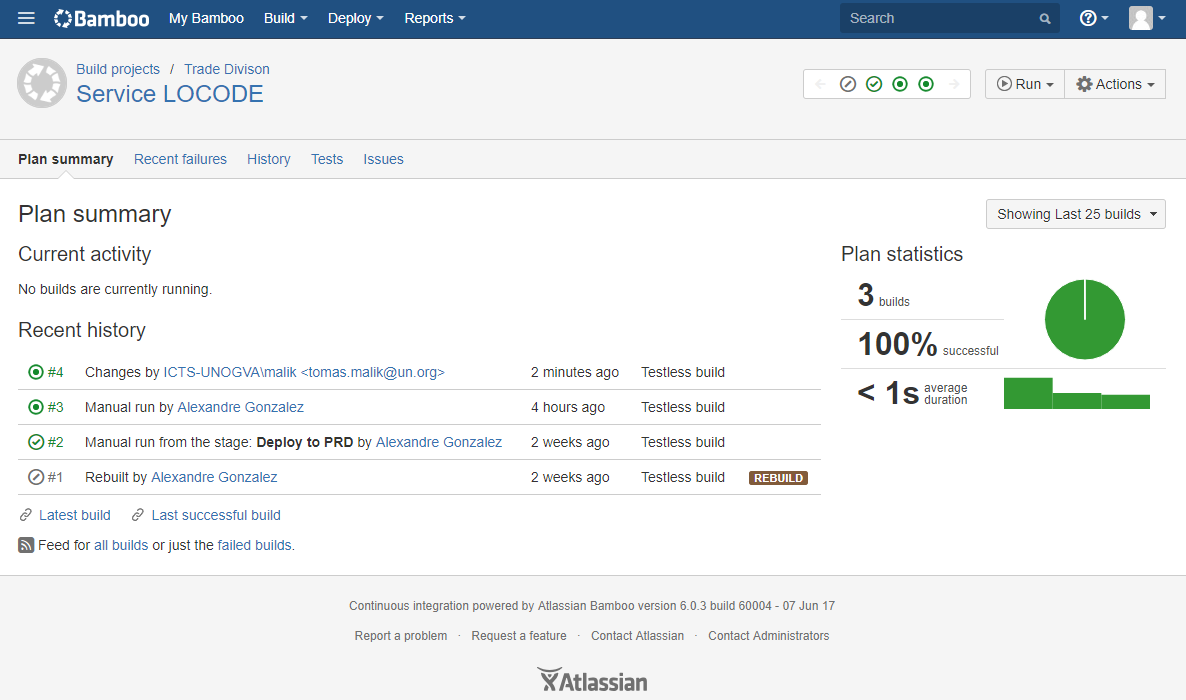
- Select job (plan) to run
From Local Repository to Stage
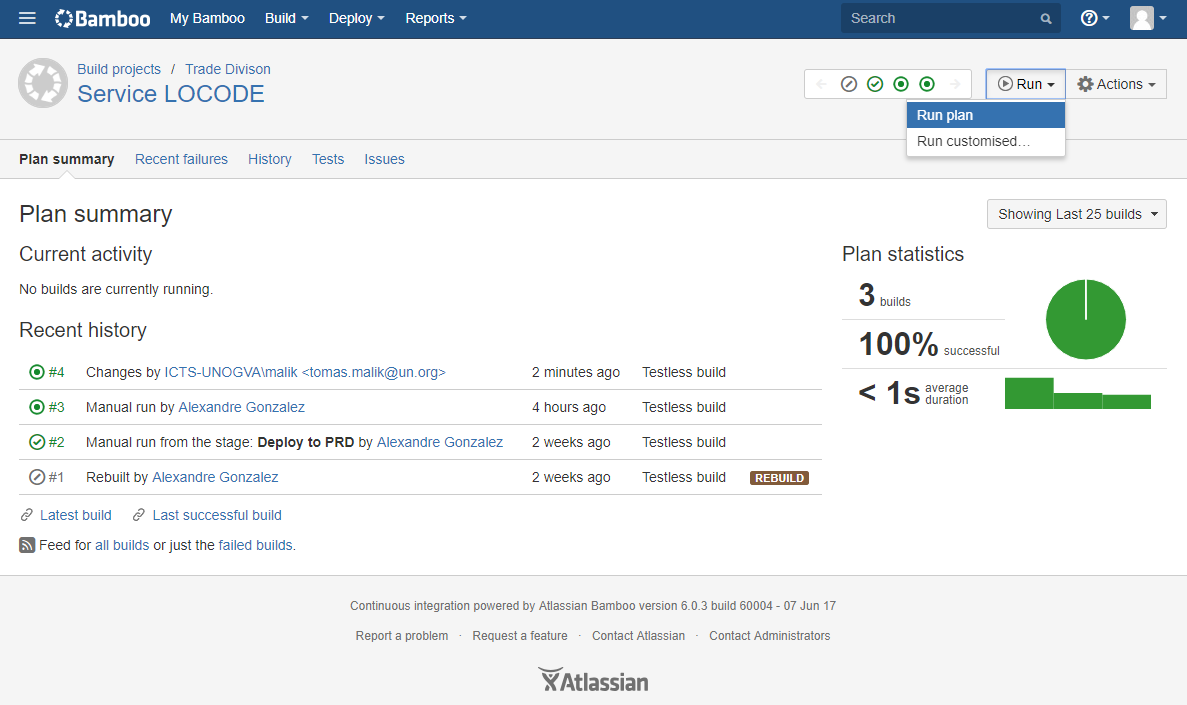
- Deploy to Stage - Run plan
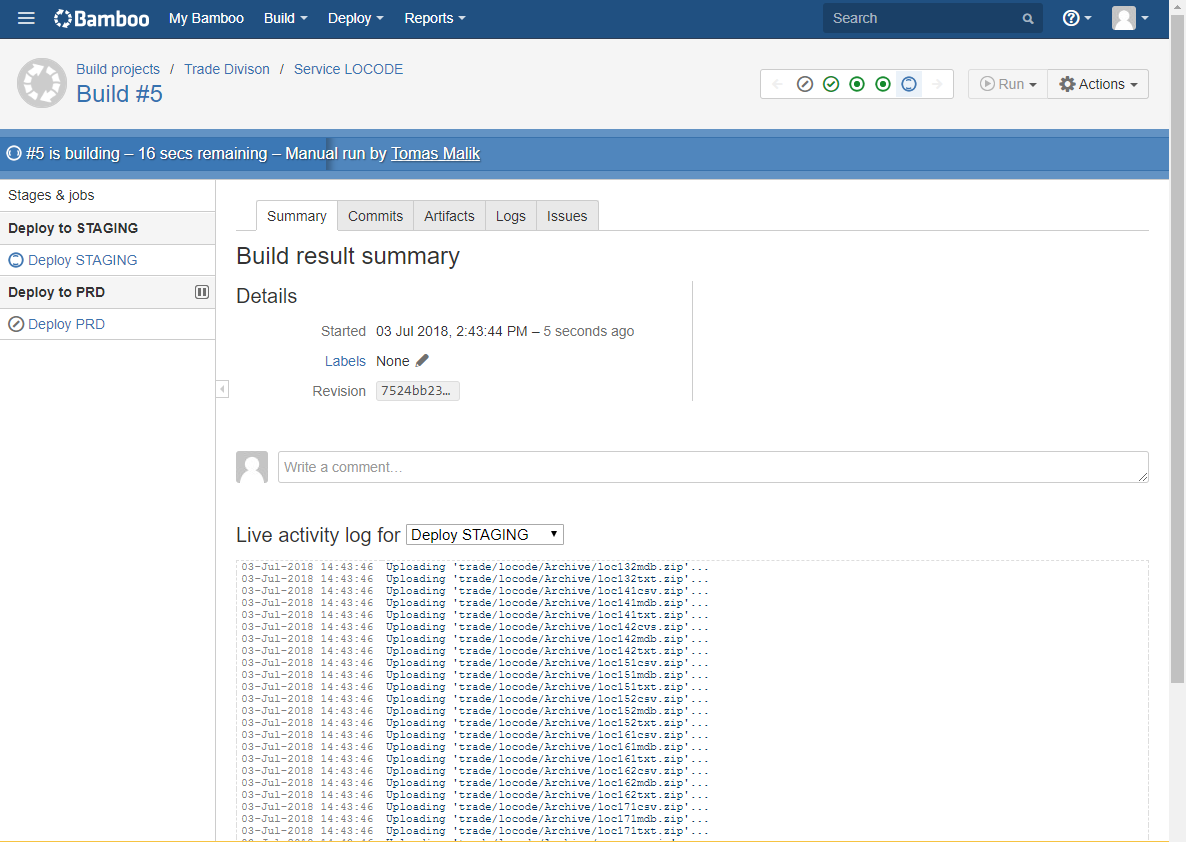
Deploy to Stage - running
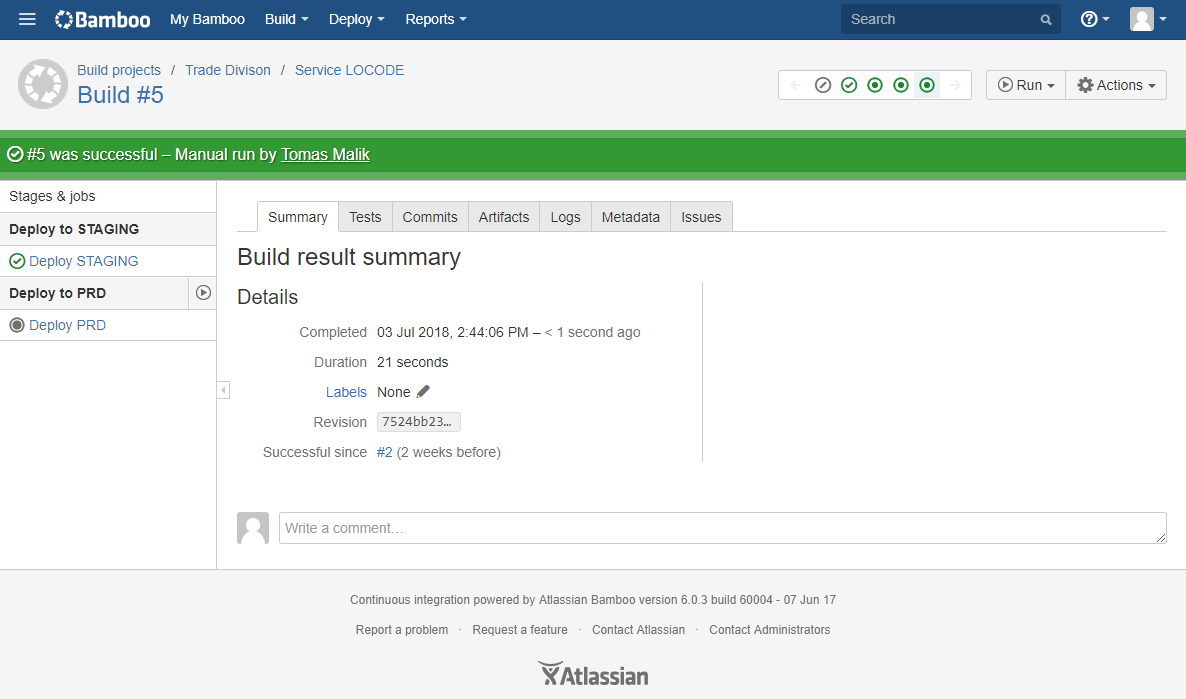
Deploy to Stage - completed
Changes appear on Stage for validation (service-qa.unece.org)
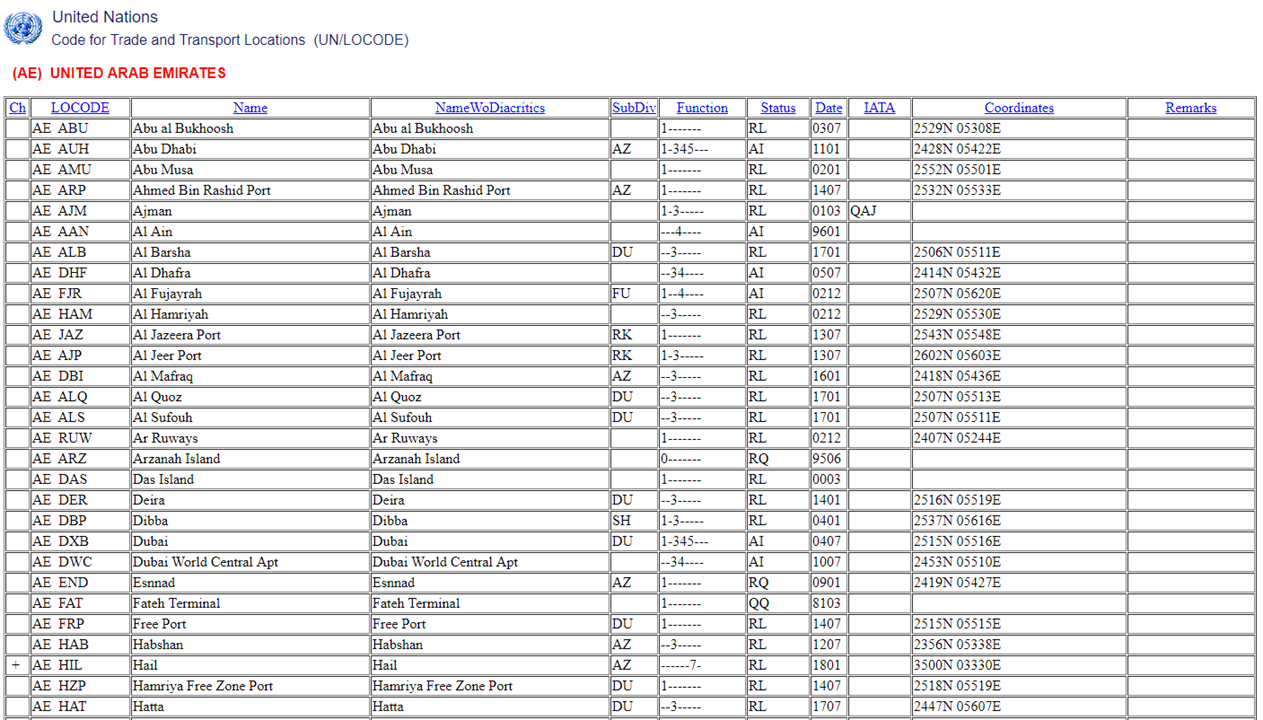
- We can see changes on Page
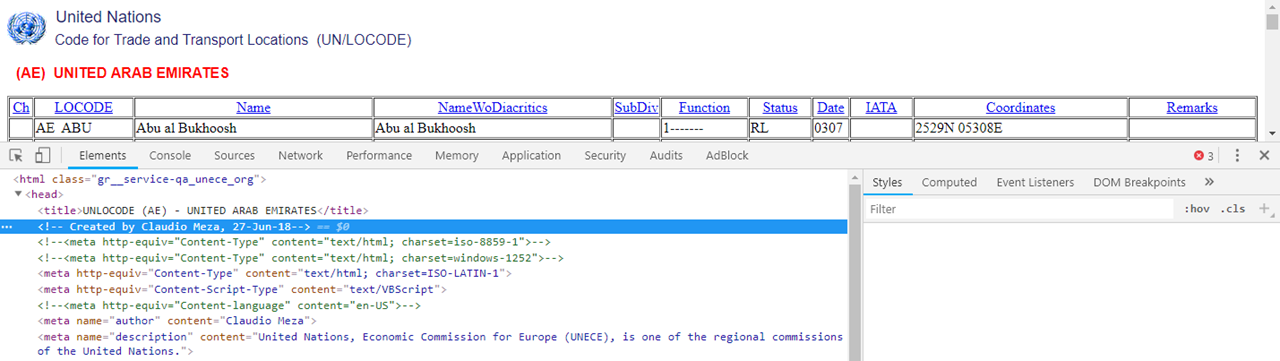
- And in it's Source
- We can see changes on Page
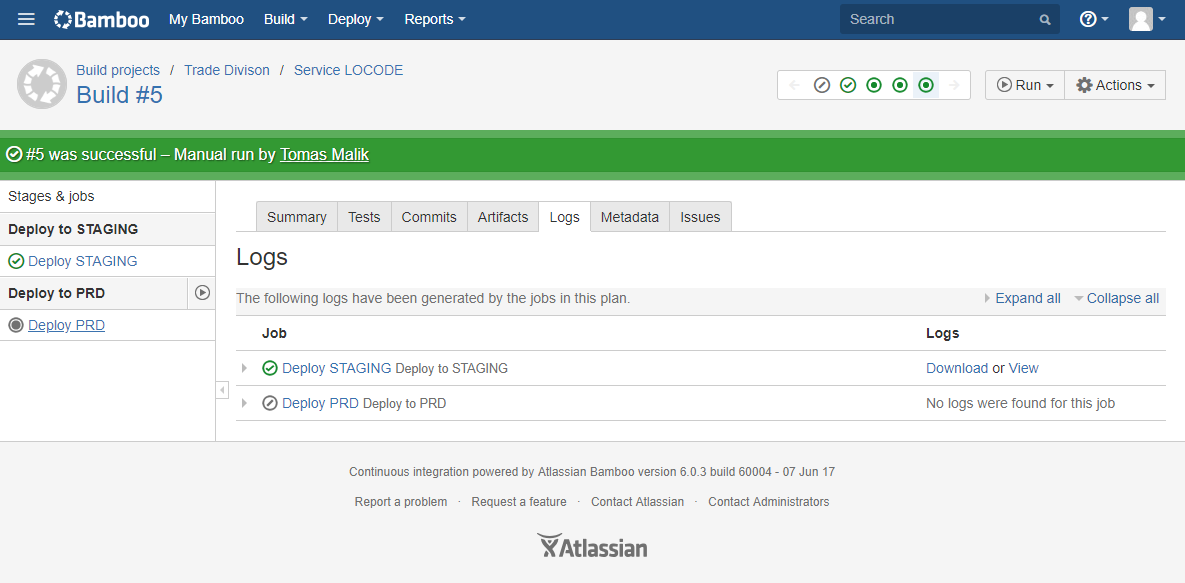
From Stage to Prod
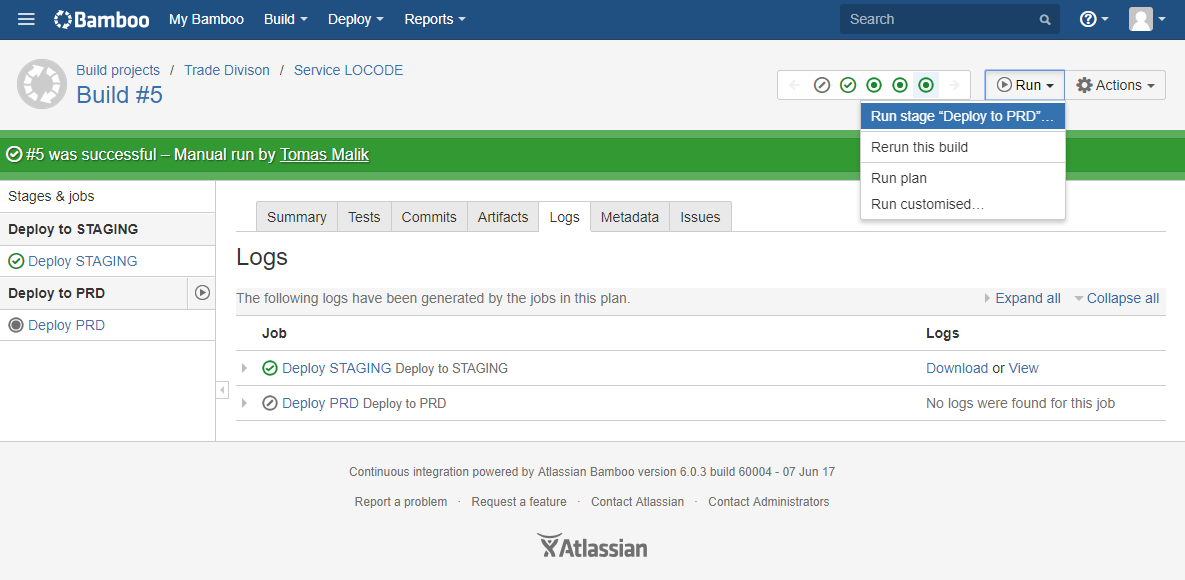
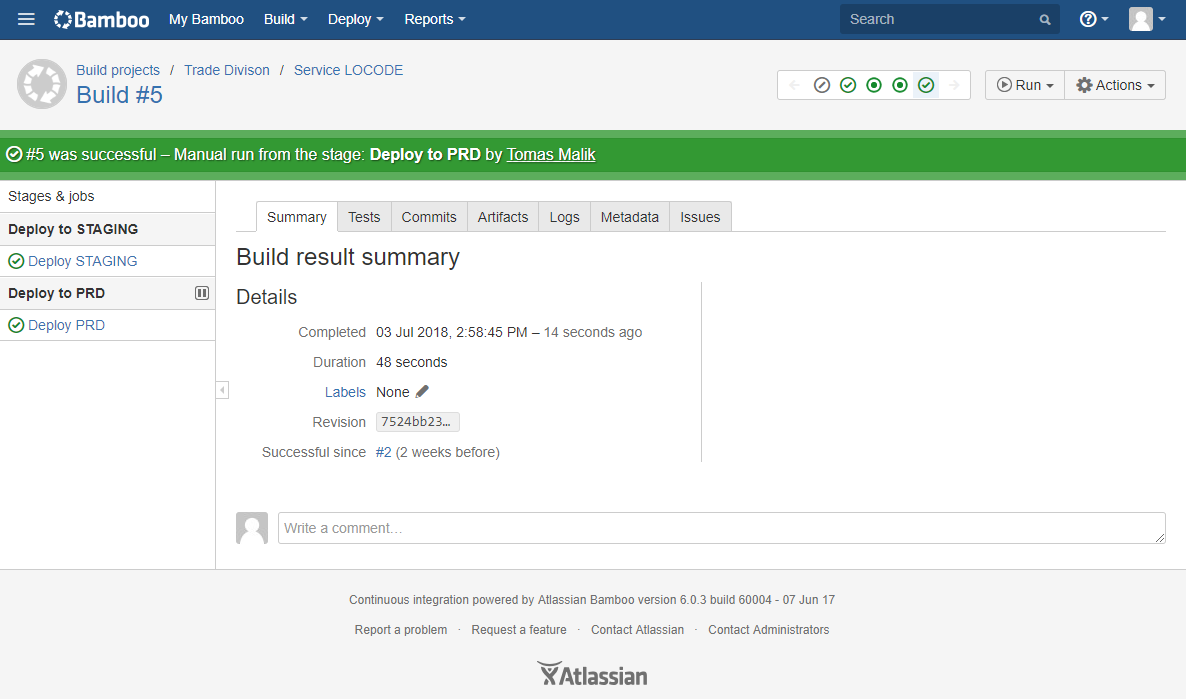
- Deploy to production - run option 1 from the left menu
- Deploy to production - run option 2 from the top menu
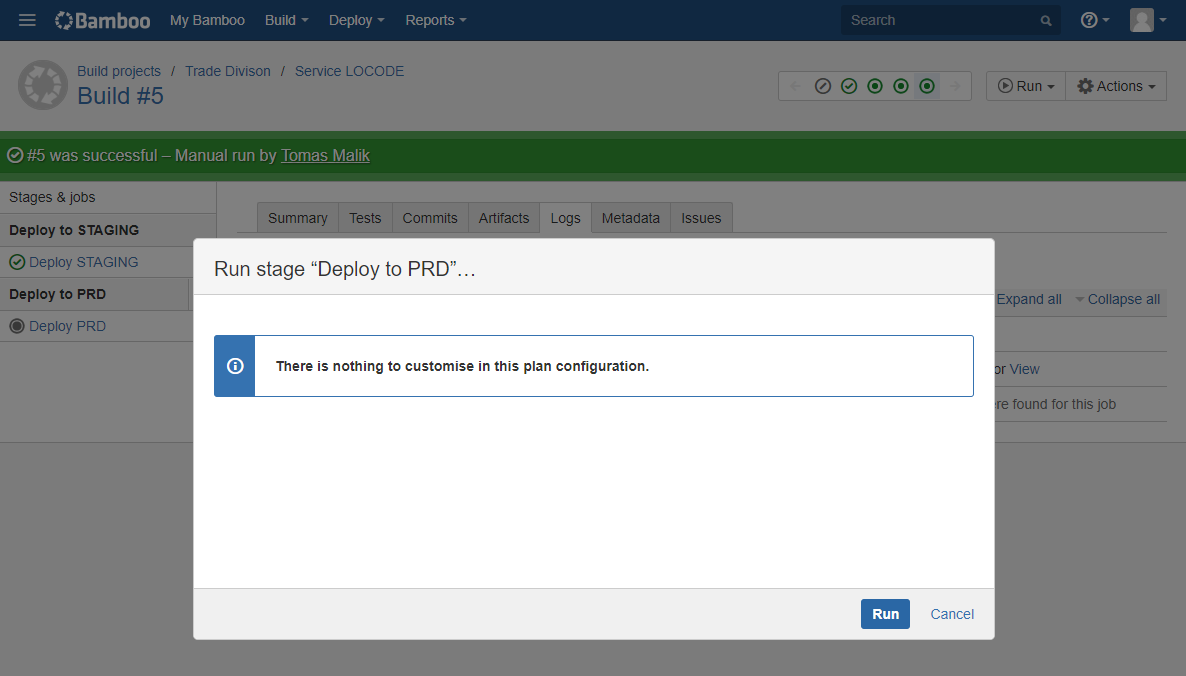
- Confirmation of "Deploy to PRD" run
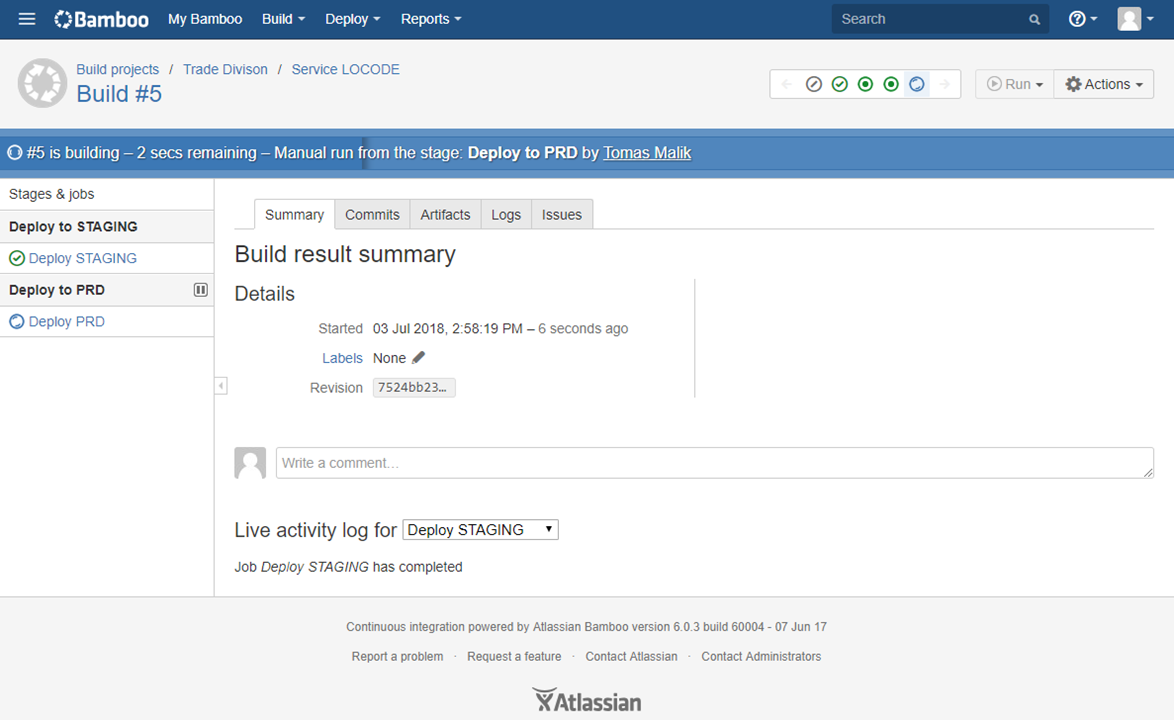
- Deploy to production - running
- Deploy to production - completed
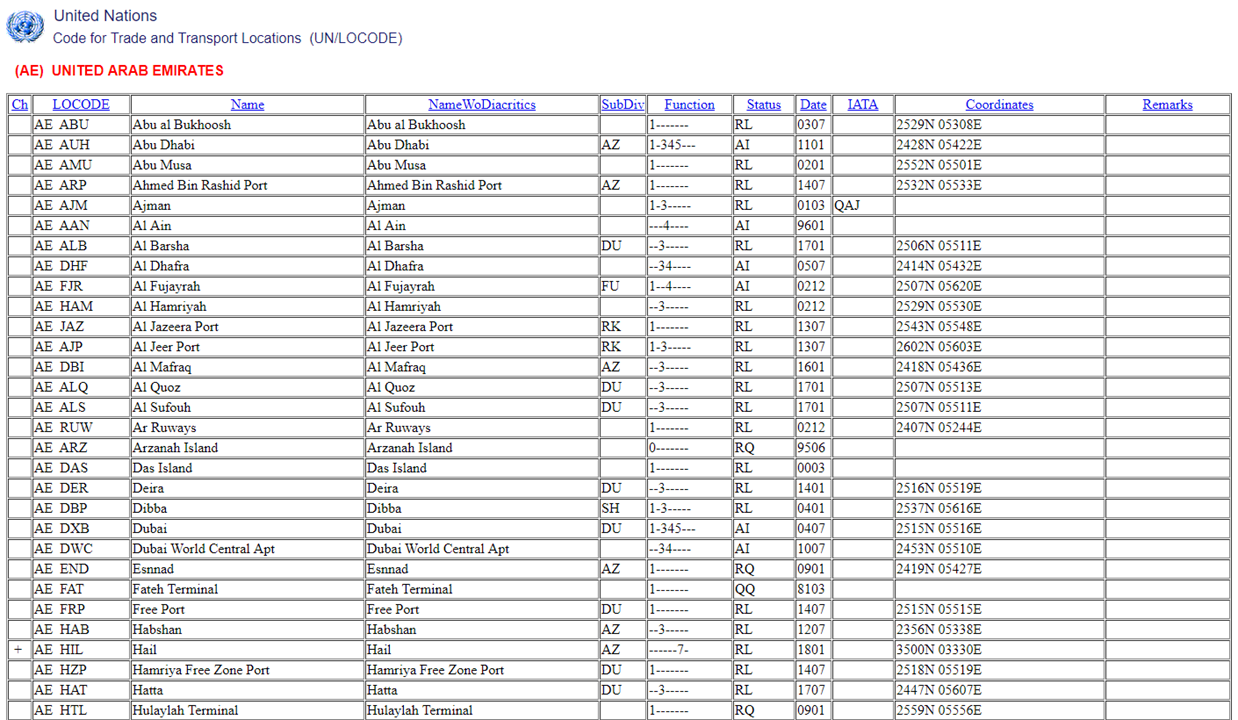
- Changes appear on Production (service.unece.org) in pages
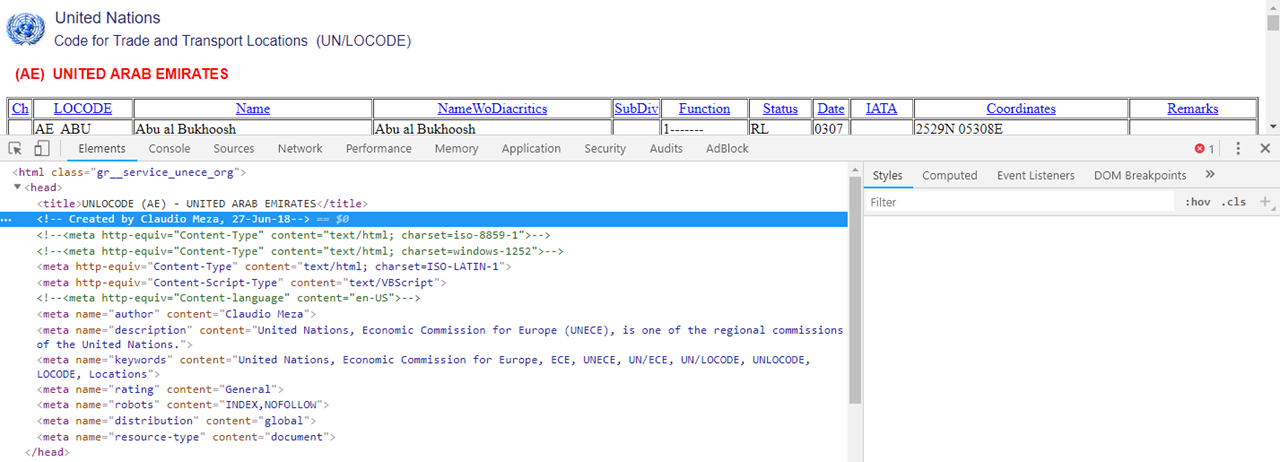
- Changes appear on Production (service.unece.org) - in it's sources
- Link files to Production
This page has no comments.